


Applique on minky fabric is a common task we we have when it comes to our stuffed animal sewing patterns. Many sewists worry they need an embroidery machine to create adorable details like eyes, noses, or mouths. The good news? None of our sewing instructions require an embroidery machine! All character-defining facial features on our plush toys are either appliquéd with a regular sewing machine or hand-embroidered.
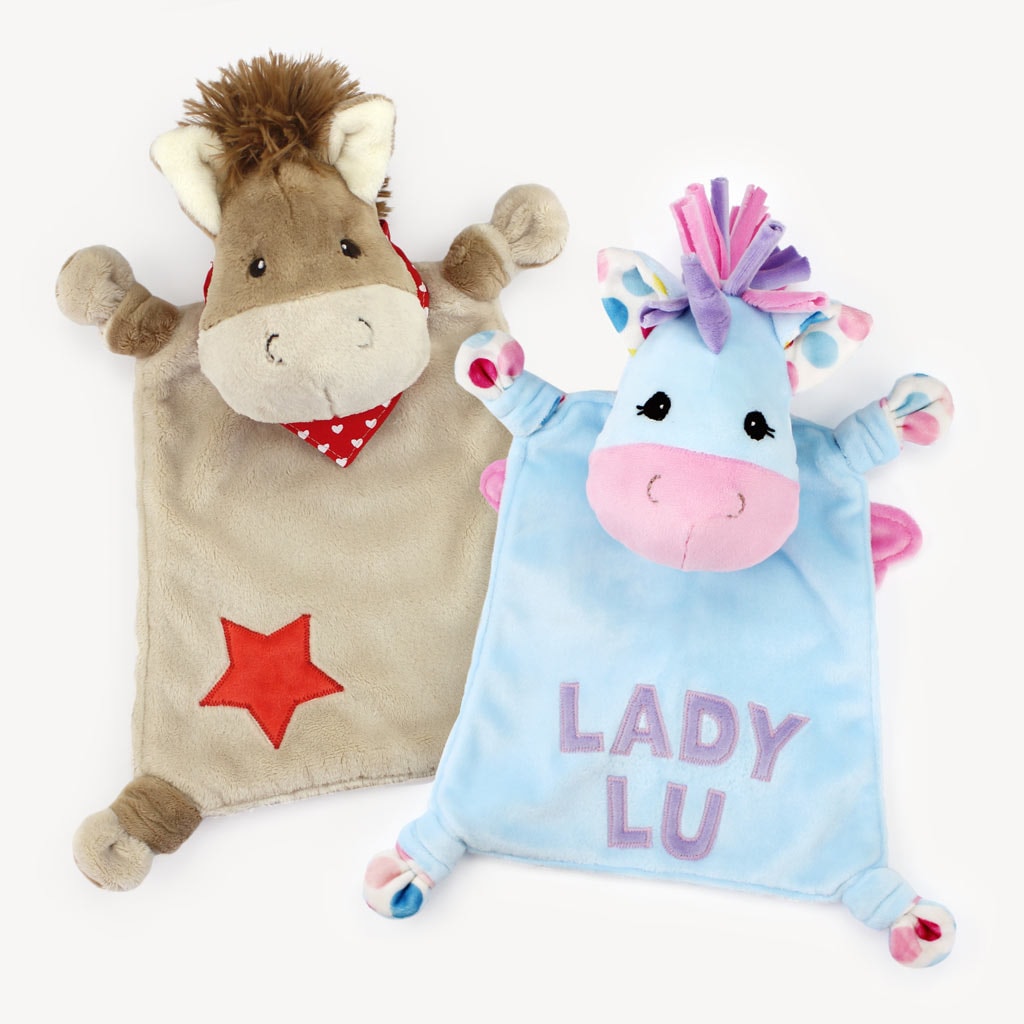
Appliqué is simply the technique of attaching decorative elements to fabric. This is done by cutting small fabric pieces and stitching them onto a base fabric. We use this method to add eyes, noses, and mouths to plush toys, creating their unique expressions. It’s also fantastic for personalizing projects like cuddle cloths or baby blankets with names like we do with our horse blanky sewing pattern. You can also add soft, plushy motifs to pillow covers that are perfect for snuggling.


What you need to applique on minky fabric
Here’s a list of tools to help you achieve clean and professional appliqué results on or with minky fabric without using an embroidery machine:
- A sewing machine
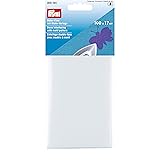
- Transparent, double-sided iron-on adhesive webbing (e.g., Heat’n Bond, Bondaweb / Vliesofix)
- A washable fabric marker for pre-drawing the position of the appliqué
- Matching or contrasting sewing thread
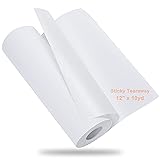
- Optional: Tear-away stabilizer (self-adhesive or water-soluble) to prevent stretching during stitching
- Optional: Water-soluble embroidery film (e.g., Avalon Film) to keep the plush fibers from poking through the stitches
The double-sided adhesive webbing is ESSENTIAL, don’t skip on it! These are the double-sided iron-on adhesive webbings we usuallly work with (affiliate links):


While the stabilizer and embroidery film are optional, they significantly improve the final look by preventing puckering and ensuring clean edges without fibers showing through the stitches. They’re worth investing in, especially if you plan to work with minky, jersey, or terry cloth often. We usually work with these products here (affiliate links):


Step-by-Step Guide to applique on minky fabric or with minky using double-sided iron-on adhesive webbing like Heat’n Bond
Step 1: Preparing the fabric pieces
1. Place the double-sided iron-on adhesive webbing’s rough (adhesive) side on the printed appliqué elements.
2. Trace the design outline onto the paper side of the webbing.
3. Cut the webbing roughly around the traced lines and iron it onto the back of the appliqué fabric. We usually use medium heat for about 10 seconds. Always test the iron temperature on a fabric scrap first to avoid damaging the minky!
4. Once cool, cut the fabric with the webbing along the traced lines and peel off the paper backing to expose the adhesive layer.


Step 2: Positioning the appliqué
1. Use a washable fabric marker to mark the exact placement of the appliqué on the base fabric.
2. Place the prepared appliqué piece onto the marked area and iron it in place for a few seconds. This will temporarily secure it for stitching.


3. Now stick a piece of stabilizer on the back of the minky fabric to prevent shifting and distortion of the minky fabric.

Step 3: Sewing the appliqué
Place a layer of transparent embroidery film over the appliqué area to prevent the plush fibers from interfering with your stitches.
Option 1: The appliqué fabric has fraying edges
Set your sewing machine to a zigzag stitch with a small stitch length and moderate stitch width (e.g., length 0.5, width 3.0). This should almost completely cover the raw edges of the appliqué fabric, preventing fraying. Alternatively, you can use a slightly wider zigzag stitch (e.g., length 0.8), which leaves some of the fabric edge visible. This option is forgiving on corners and irregular shapes while still providing a clean look – perfect if your fabric isn’t prone to heavy fraying! It’s also a good option if your sewing machine has issues doing appliqués on the mínky fabric.
Now stitch around the edges of the appliqué, ensuring the stitches cover the raw edge. Always test your settings on a scrap piece of fabric first to prevent puckering or uneven feeding.

Option 2: The appliqué fabric does not fray
If your appliqué fabric doesn’t fray (e.g. if you’re using minky or felt), a straight stitch works well to secure the pieces. Sew as close to the edge of the appliqué as possible. For small elements, use a shorter stitch length to improve precision and control.

A little note: In the above picture, we used felt on our SuperSoft SHORTY minky. As there where no long minky fibers that could get caught in the seam, we skipped the transparent embroidery film.
Regardless of the stitch type, choose matching thread for a seamless finish or contrasting thread for a bold, decorative look. Avoid backstitching at the start and end of your seam. Instead, leave long thread tails, pull them to the back of the fabric with a needle, and tie them securely to prevent visible bulk.
For tiny round pieces, such as eyes, sew 1–2 stitches, then lift the presser foot with the needle lowered, turn the fabric slightly, lower the presser foot, and repeat. This technique ensures smooth curves and precise stitching.
Step 4: Finishing touches after applique on minky
1. Remove the stabilizer and embroidery film after sewing.
2. Wash the project or gently wipe it with a damp cloth to remove washable marker lines and any remaining stabilizer or film. For the best results, a quick wash in the machine will ensure everything is clean!
That’s it! With a bit of practice, you’ll see that applique on minky is super fun and that minky fabric is perfect for creating unique, cuddly designs. Happy sewing! 😊