


Learning how to cut minky fabric doesn’t have to be a challenge! With a few simple tips and techniques, you can handle this plush material like a pro. From managing lint to making precise cuts, we’ll guide you through the process to ensure your minky projects turn out beautifully.
Tips for transferring pattern pieces to minky
1. Glue your pattern pieces to cardboard
When working with minky fabric, transferring pattern pieces can be tricky due to the fabric’s slippery pile and overall thickness. The plush pile creates a noticeable thickness when the fabric is lying on the table. If you press a paper pattern piece onto it, the pile compresses unevenly, causing the fabric to shift slightly.
One technique to combat this is gluing your paper pattern pieces to cardboard. The sturdy edge not only makes it easier to run a fabric marker along for precise marking but also prevents movement while you work. This is especially useful for plush toy sewing, where pieces are often small and require extra accuracy. It’s a simple adjustment that makes working with this material much smoother!
View this post on Instagram
2. Pay attention to the nap direction
This is super important: Always consider the nap direction when cutting minky or plush fabrics! For stuffed animals, the nap usually runs from top to bottom. However, there are exceptions—especially when using shaggy plush. In some cases, reversing the nap direction (from bottom to top) creates a unique tousled effect.
You can easily determine the nap direction by running your hand parallel to the selvage. If the fibers feel smooth, you’re moving with the nap. If they resist or stand up, you’re moving against it. Most pattern pieces will include arrows indicating the nap direction. Lay the pattern on the minky so that the arrow aligns with the nap direction – meaning the arrow points to where the fabric feels smooth when stroked.
3. Use a washable fabric marker with a thick tip
When it comes to transferring patterns to minky fabric, we swear by washable fabric markers. They’re a lifesaver because their markings disappear when you wash the fabric, giving you full control over when the marks vanish. This is a big advantage compared to self-erasing markers, which might fade before you get the chance to sew – especially if, like me, you’re a mom who can only sew a few hours in the evening on your plushie or cuddly project.

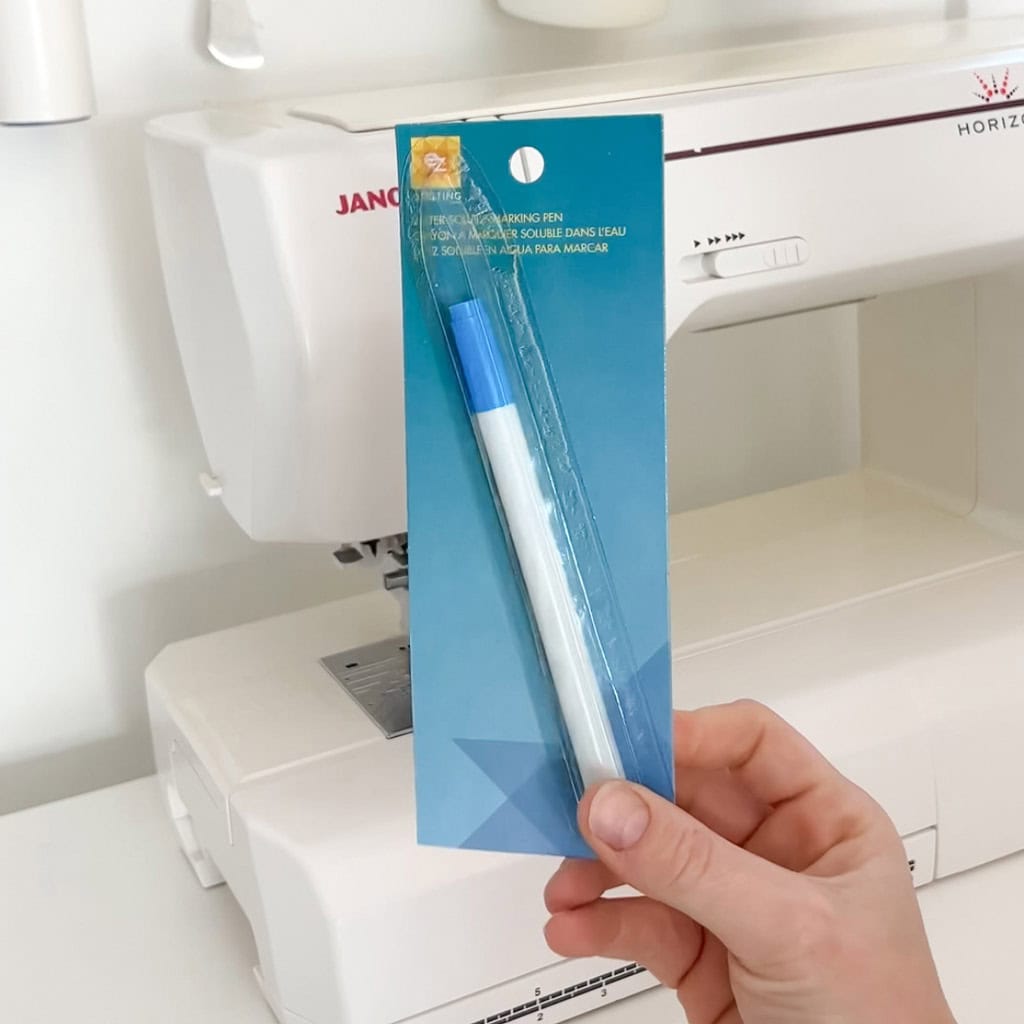

To get the best results, choose a marker with a thick tip. Thick tips work much better on synthetic fabrics like minky, as they glide more easily and don’t require as much pressure. Fine-tip markers, on the other hand, often need more pressure to leave a mark, which can compress the pile and lead to fabric shifting. Here are the washable fabric markers we love to use (affiliate links):


As for chalk markers, we’ve found they barely work on minky at all. They leave faint or no marks and are sometimes difficult to use for the small pattern pieces that plush toy patterns often require. A good washable marker with a thick tip makes all the difference! Here are the markers we work with, but make sure to always test them on fabric scraps as their performance might vary depending on the fabric.
Tips on how to cut minky fabrics
Scissors over rotary cutters
Unlike faux fur, which has a stiff and stable backing, soft plush fabrics like minky are best cut with sharp fabric scissors rather than a rotary cutter or knife. If you’re a die-hard fan of rotary cutters, make sure to use a very sharp blade that can slice through the fabric effortlessly without requiring much pressure. This will help prevent stretching or uneven cuts.


Don’t fear the lint!
Short-pile minky is cut much like other fabrics, and while you can’t avoid trimming a few fibers, the lint can easily be cleaned up. Use a lint roller to remove stray fibers from your clothing and a vacuum cleaner to tidy up your workspace.
For those who can’t stand the lint, here’s a handy trick: stick a layer of self-adhesive book cover film onto the right side of the fabric before cutting. This prevents the fibers from scattering everywhere.It also helps cutting very small pieces as it gives the minky more stability.


This technique is especially useful for Long-pile minky like our SuperSoft SHAGGY. For more tips on cutting long-pile plush, check out our dedicated guide or watch this short video from our Youtube channel:
Avoid cutting on the fold
Since minky is relatively thick, cutting it on the fold can result in your pattern pieces being slightly larger than intended, especially with long-pile minky or shaggy plush. To achieve more accurate results, cut each piece as a single layer rather than on the fold.
Small pieces: Sew first, cut later
If your project involves multiple small parts made from the same minky fabric – like the limbs of a stuffed animal – or if you’re sewing multiple copies of a plushie, try this: sew the pieces first, then cut them out. It may sound unusual, but this technique saves time and effort. It reduces the need for pinning and makes it easier to sew accurately when you’re working with a larger piece of fabric under the presser foot.