


No Christmas season is complete without a little star on your couch, right? And what could be better than a soft, handmade star cushion using our SuperSoft SHORTY fabric in ivory with a romantic crochet edge? It might seem tricky, but it’s actually super simple! Just download our free star pillow pattern and sew this quick and easy Christmas decor!


What you need for the star pillow pattern
- Non-fraying fabric, approx. 21×19″ (52×48 cm)
- Stuffing material
- Sewing machine
- Sewing thread
- Sharp fabric scissors
- Crochet hook
Our SuperSoft SHORTY minky fabrics are perfect for this Christmas sewing project! The edges won’t fray, making them ideal for the crochet edge technique. Plus, the fabric is so soft and cuddly, your star pillow will not only look great but feel extra cozy too. You could also use our super stretchy mochi minky SQUISHY fabric. Just be sure to pair it with a fluffy, non-clumping fiber fill for the best results.
-
-10%

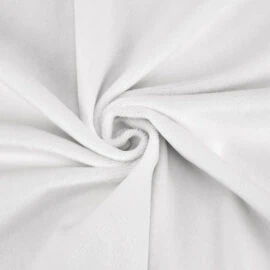
SuperSoft SHORTY White Minky Fabric – Premium Plush
USD $19.90USD $17.90 Select options This product has multiple variants. The options may be chosen on the product page -
-10%
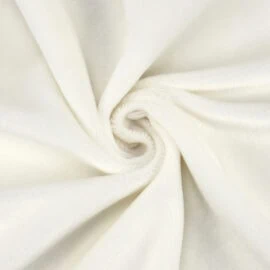
SuperSoft SHORTY Ivory Minky Fabric – Premium Plush
USD $19.90USD $17.90 Select options This product has multiple variants. The options may be chosen on the product page -
-12%
Out of stock
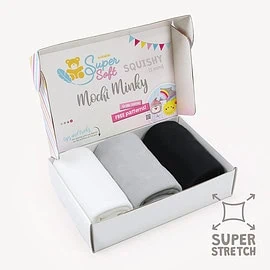
Mochi minky fabric BLACK + WHITE color bundle of 3 – SuperSoft SQUISHY
Original price was: USD $45.90.USD $40.50Current price is: USD $40.50. Read more
Free star pillow pattern download
You can download the free star pillow template here:
Star pillow pattern with crochet edge
Please make sure to follow us on Instagram and subscribe to our newsletter for even more free patterns and lots of great sewing ideas! 🙂

No-Sew Crochet Technique: Video Tutorial
We’ve used the crochet technique as shown in this quick tutorial from our YouTube channel:
How to sew the Christmas star pillow
1. Sew the fabric pieces
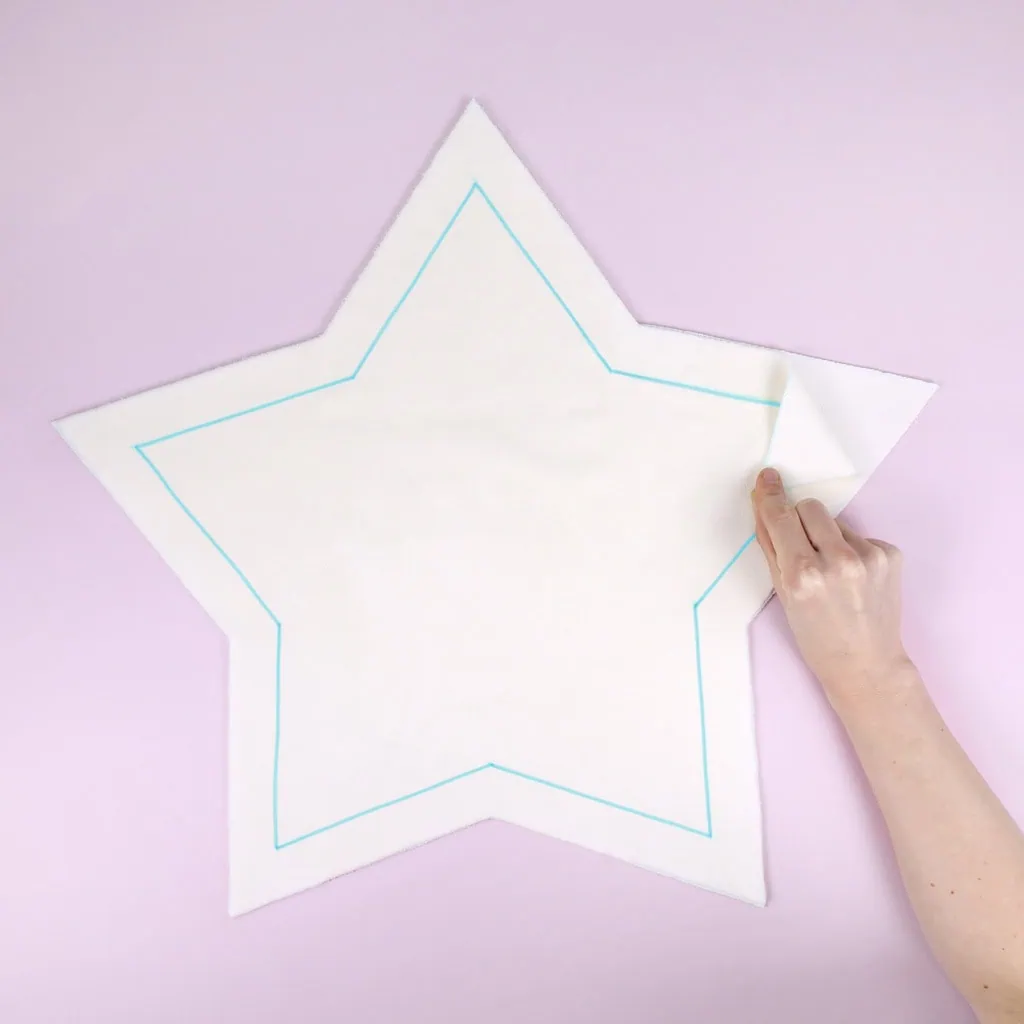
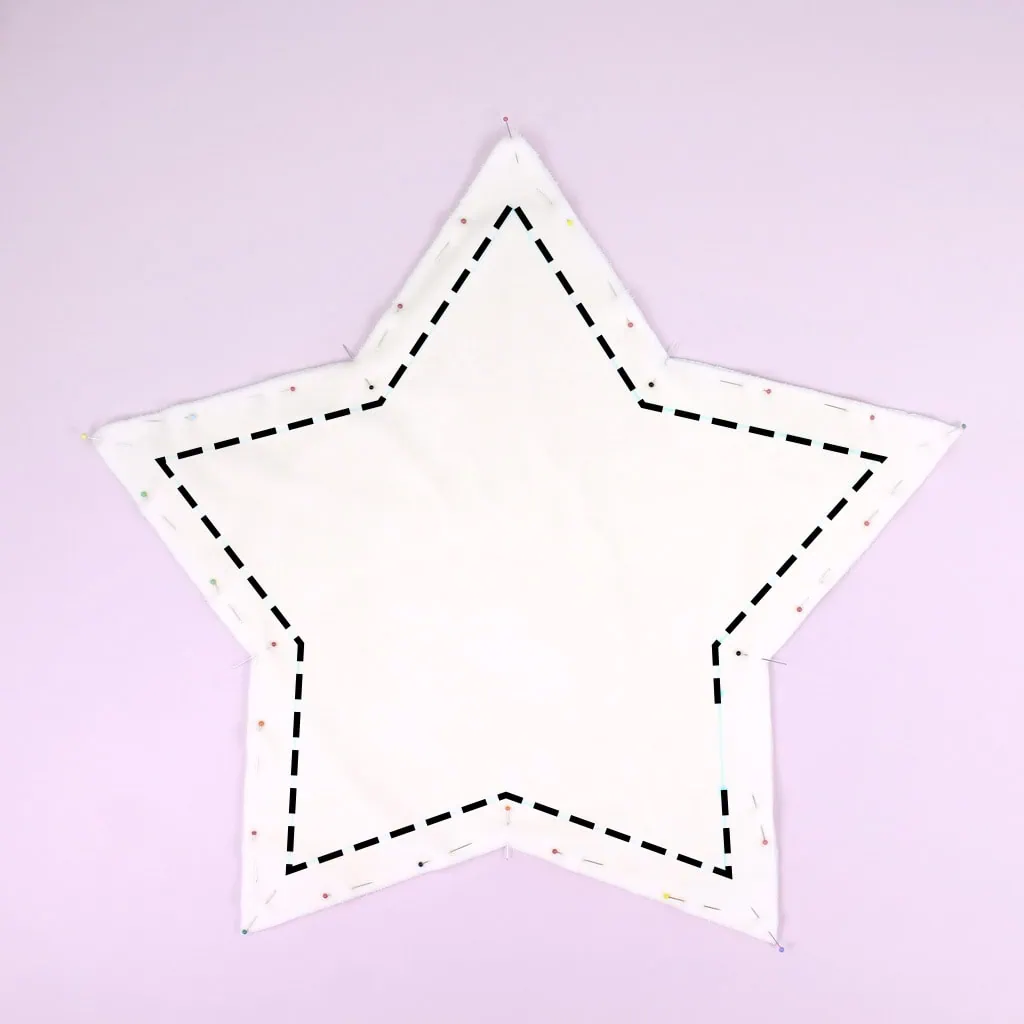
Place the two star pieces wrong sides together and pin them in place. Sew around the edges with a 1¼” (3 cm) seam allowance. The seam line is marked in light gray on the paper pattern piece (in the photos, you’ll see it marked in blue). Remember to leave an opening for stuffing the pillow!
2. Cut the seam allowance
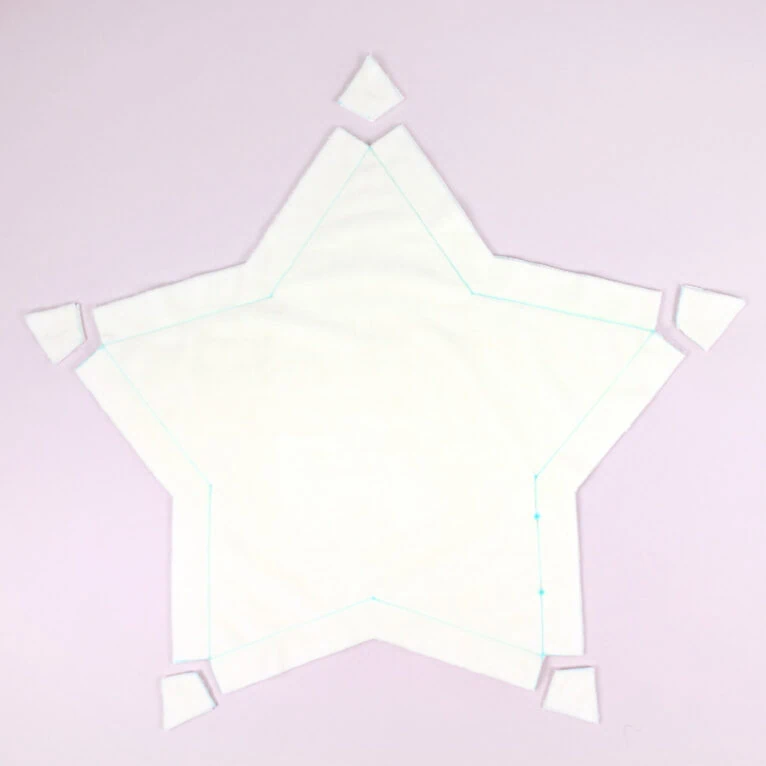
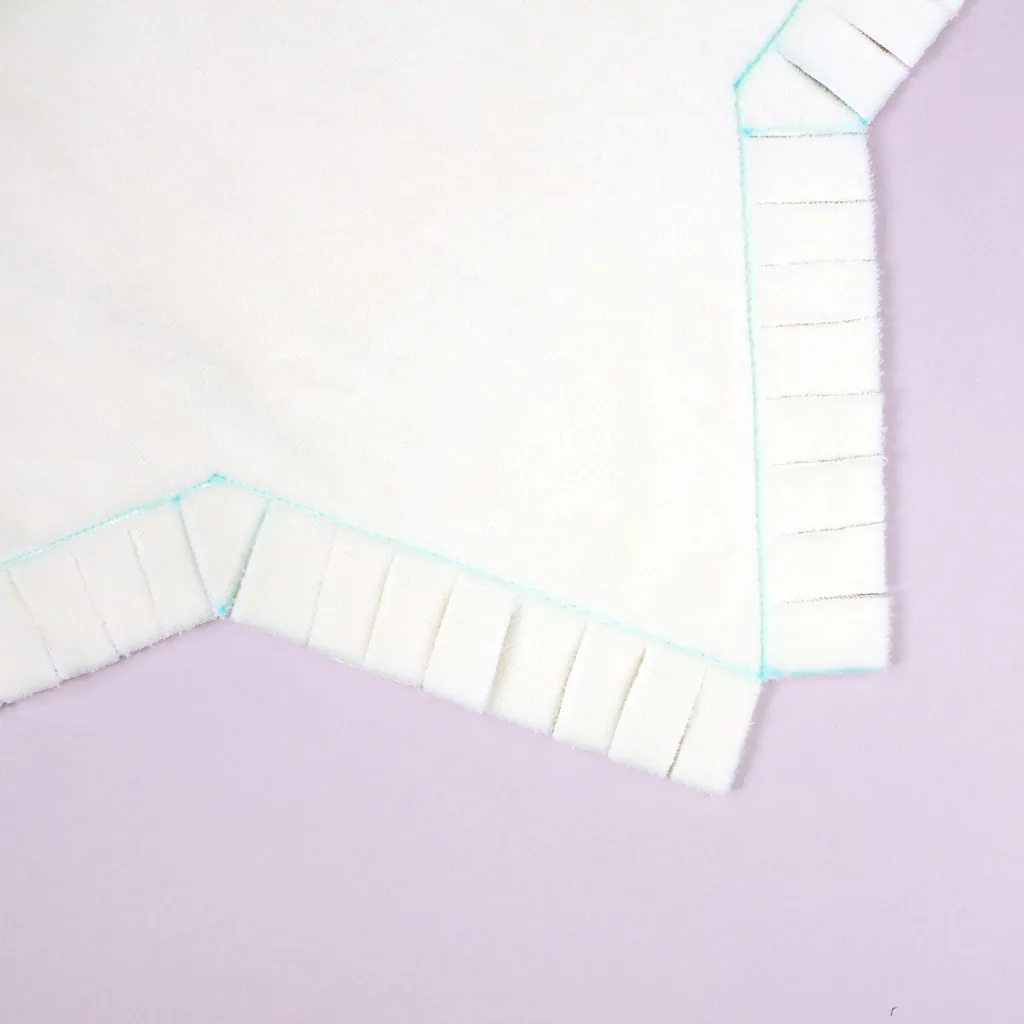
At each of the five corners, trim the seam allowance so that there’s a right angle on either side of the corner. Then, as shown in the picture, cut the seam allowance into even strips, all the way up to the seam line. Each star point should have about eight fringe strips. The inner corners will naturally create a pointed fringe.
3. Cut the fringe slits
Fold the bottom third of each fringe strip upwards and make a small cut at the fold, creating a slit of about 3/8″ (1 cm). Optionally, you can trim the rectangular fringe pieces into a pointed shape. This helps prevent the fabric edges from peeking out of the crocheted border.

4. Crochet the edge
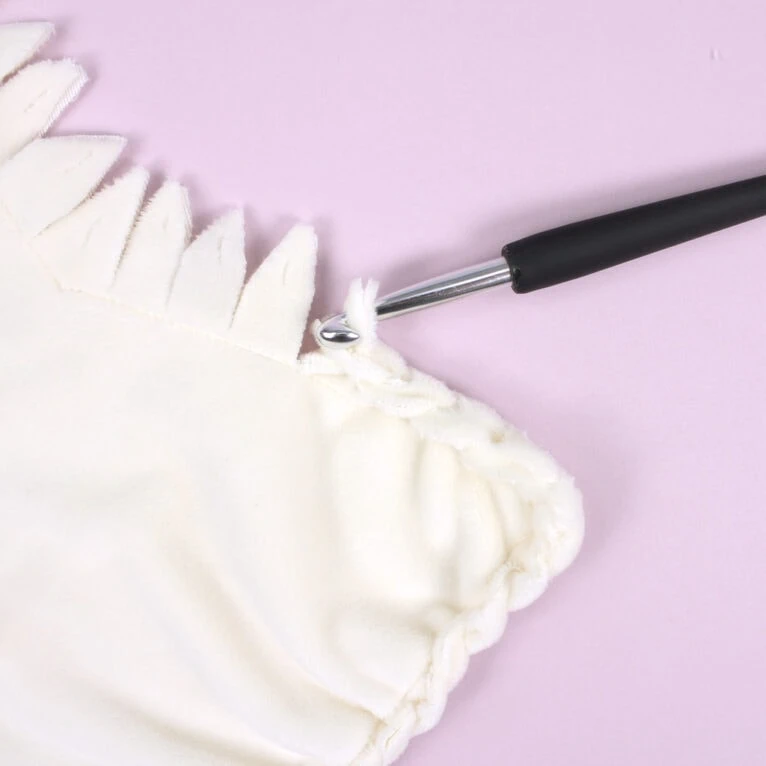
Insert the crochet hook from underneath through the slit of the first fringe (through both fabric layers). Then, push the hook through the slit of the next fringe on the right, grab the fabric edge of the right fringe with the hook, and pull the fringe through the slit of the first fringe. In short: always pull the right fringe through the slit of the left fringe. Keep the crochet hook in the current fringe and continue pulling the next right fringe through the slit. Repeat this process around the entire pillow. Don’t forget to stuff the pillow with filling material before closing up the final opening!
5. Finish the Edge
Cut the last pulled-through fringe and tie it around the previous fringe to secure it.

Thank yiou
I would like your free star pillow pattern