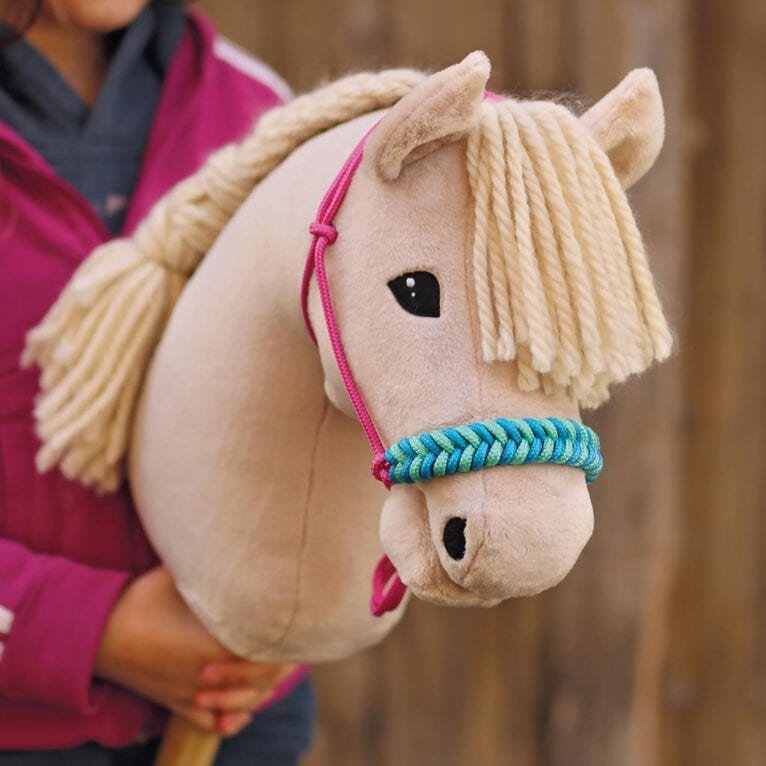
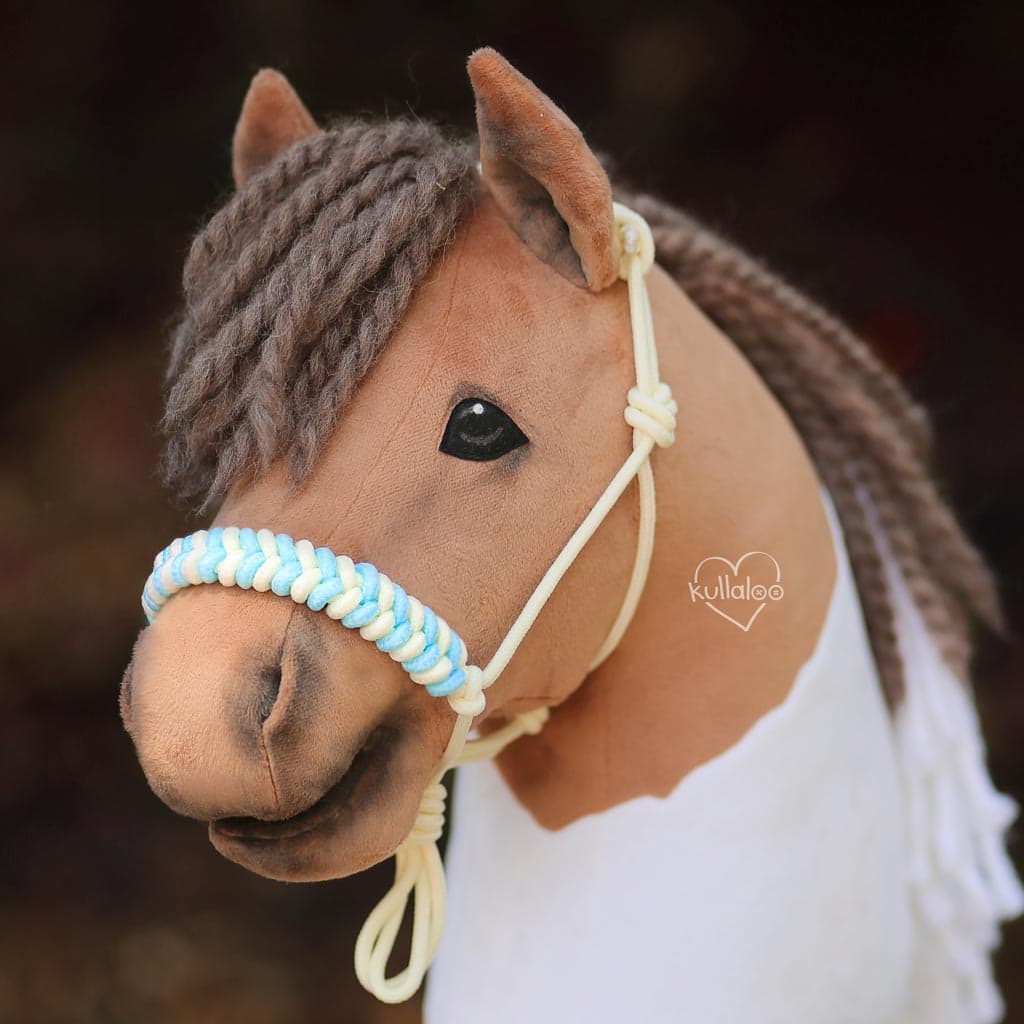
A braided noseband rope halter is an easy way to add color and texture to your Hobby Horse rope halter. By braiding additional ropes directly onto the double noseband, you can create a decorative herringbone-style pattern that’s simple to make and adds a beautiful handmade detail. You can use one color for a clean, classic look or combine two or more colors for a bold accent.

If you don’t know how to make a rope halter yet, don’t worry! We also have a step-by-step tutorial that shows you how to tie a basic rope halter before adding the braided noseband!
Braid the noseband of a rope halter: video tutorial
Check out this video from minute 5:37 on our kullaloo Youtube channel to see how to braid the noseband of a Hobby Horse rope halter:
🧵 Materials you’ll need:
- Rope, like PP or paracord, with a diameter of about 5⁄32″ (4 mm), 2 colors of approx.
40″ (1 m) each
We like to use polypropylene (PP) rope or other synthetic rope for tying rope halters. It’s sturdy, less prone to dirt, and you can seal the cut ends with a lighter to prevent fraying.
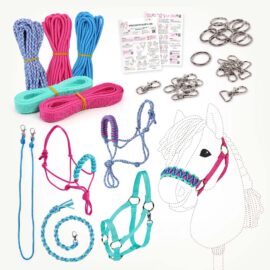
We offer several halter DIY kits that include all the materials you need to make rope halters with a braided noseband, each including three different PP ropes plus bag webbing for stable halters and hardware like snap hooks.
-
-18%
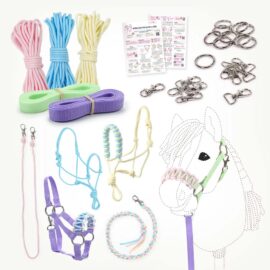
Hobby Horse Halter DIY Kit – Make a hobby horse Halters with Leads | Pastel
Original price was: USD $36.50.USD $29.90Current price is: USD $29.90. Add to cart -
-18%
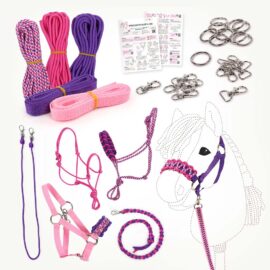
Hobby Horse Halter & lead rope DIY Kit | Purple & Pink
Original price was: USD $36.50.USD $29.90Current price is: USD $29.90. Add to cart -
-18%
Hobby Horse Halter DIY Kit – Make Halters & Leads | Aqua & Pink
Original price was: USD $36.50.USD $29.90Current price is: USD $29.90. Add to cart
How to make a braided noseband rope halter
1. Prepare the ropes
To braid the noseband of the rope halter, cut two ropes, each approximately 40″ (1 m) long. For a contrasting look, use two different colors. If you prefer a more subtle design, you can use just one color instead — in that case, cut a single rope about 79″ (2 m) long. If you’re using polypropylene (PP) rope like the ones from our DIY kits, carefully seal the ends of each rope with a lighter. Alternatively, apply a small amount of glue to prevent the ends from fraying during braiding.


Find the center of each rope and mark it temporarily with a pin so you have equal lengths on both sides. This ensures that the braid will be centered on the noseband and that both sides finish evenly.
2. Positioning the ropes
Place the rope halter onto your Hobby Horse and locate one of the two noseband knots. Pull both braiding ropes underneath the double noseband directly next to this knot. Align the center marks of the ropes so they sit exactly below the double noseband. The rope color you want to start the braid with should be positioned closest to the knot. To keep everything in place while you work, temporarily pin the ropes to the noseband strands.

Note: If you’ve braided nosebands before, you may find it easier to work without placing the halter on the horse. For your first attempts, however, keeping the halter on the horse helps with orientation and ensures an even, symmetrical result.
3. Braiding the noseband
Begin braiding with the rope that sits closest to the knot. Take the left end of this rope and pass it between the two noseband strands toward the right side, guiding it over the left noseband rope and under the right one. Pull the rope snug, but not overly tight.


Next, take the right end of the same rope and pass it in the opposite direction, guiding it over the right noseband rope and under the left one. Pull it taut so the braid lies flat against the noseband.


Now switch to the second rope color. Start with its left end, passing it over the left noseband rope and under the right one, then repeat the same motion with the right end of that rope in the opposite direction. After completing both sides, gently pull all four ends to tighten the braid evenly against the knot.


Continue braiding along the entire noseband using this same sequence, always starting on the left side. Keep the braid compact and close together so the original noseband ropes are fully covered and the pattern looks consistent. Feel free to remove the halter from the horse at any point – it becomes much easier to continue braiding as you get closer to the end of the noseband.
4. Finishing the braid
Once you reach the second noseband knot and no more rope fits between the noseband strands, remove the halter from the horse (if you haven’t done so already). Turn the noseband so the back side faces you. Choose one pair of rope ends and cut them close to the noseband. Secure these ends on the back by carefully melting them into the existing rope, stitching them in place by hand, or gluing them down. Make sure the attachment is flat and secure so it won’t be visible from the front.


Turn the noseband back to the front and guide the remaining two rope ends tightly and close together from back to front. They should cover the remaining part of the noseband up to the noseband knot.


Bring the rope ends to the back of the noseband and trim them so they meet roughly at the center on the back side. Secure the ends using the same method as before. Once finished, the braid should look seamless from the front, with all ends neatly hidden on the back.


Et voilà – your braided noseband rope halter is finished!
If you’d like to keep going, you can also learn how to make matching lead ropes, hobby horse bridles, or braid decorative straps for stable halters. We have step-by-step tutorials for all of these, so you can mix, match, and create a complete set of Hobby Horse tack in your own style.